Truly support
independent journalism
Our mission is to provide unbiased, fact-based reporting that holds the powerful to account and exposes the truth.
Whether it's $5 or $50, every contribution counts.
Support us in offering journalism without agenda.
For the past decade, every time Apple introduced a new iPhone, the brand would brag about the quality of the camera. And it's fair to say: the amount of engineering required to include such good camera systems in a phone is almost underestimated.
Still, many of us probably use our iPhone camera without giving it much thought, and if you've ever wondered if there are some simple steps you can take to get better photos with your phone, you're not alone. We've put together some top tips to help you go from novice photographer to expert photographer…
1. Activate some guides
The iPhone's camera app has generally been overly cautious when it comes to controls and details, keeping things simple and clutter-free. Still, there is one setting that we think can help people immensely when it comes to photo composition: the grid.
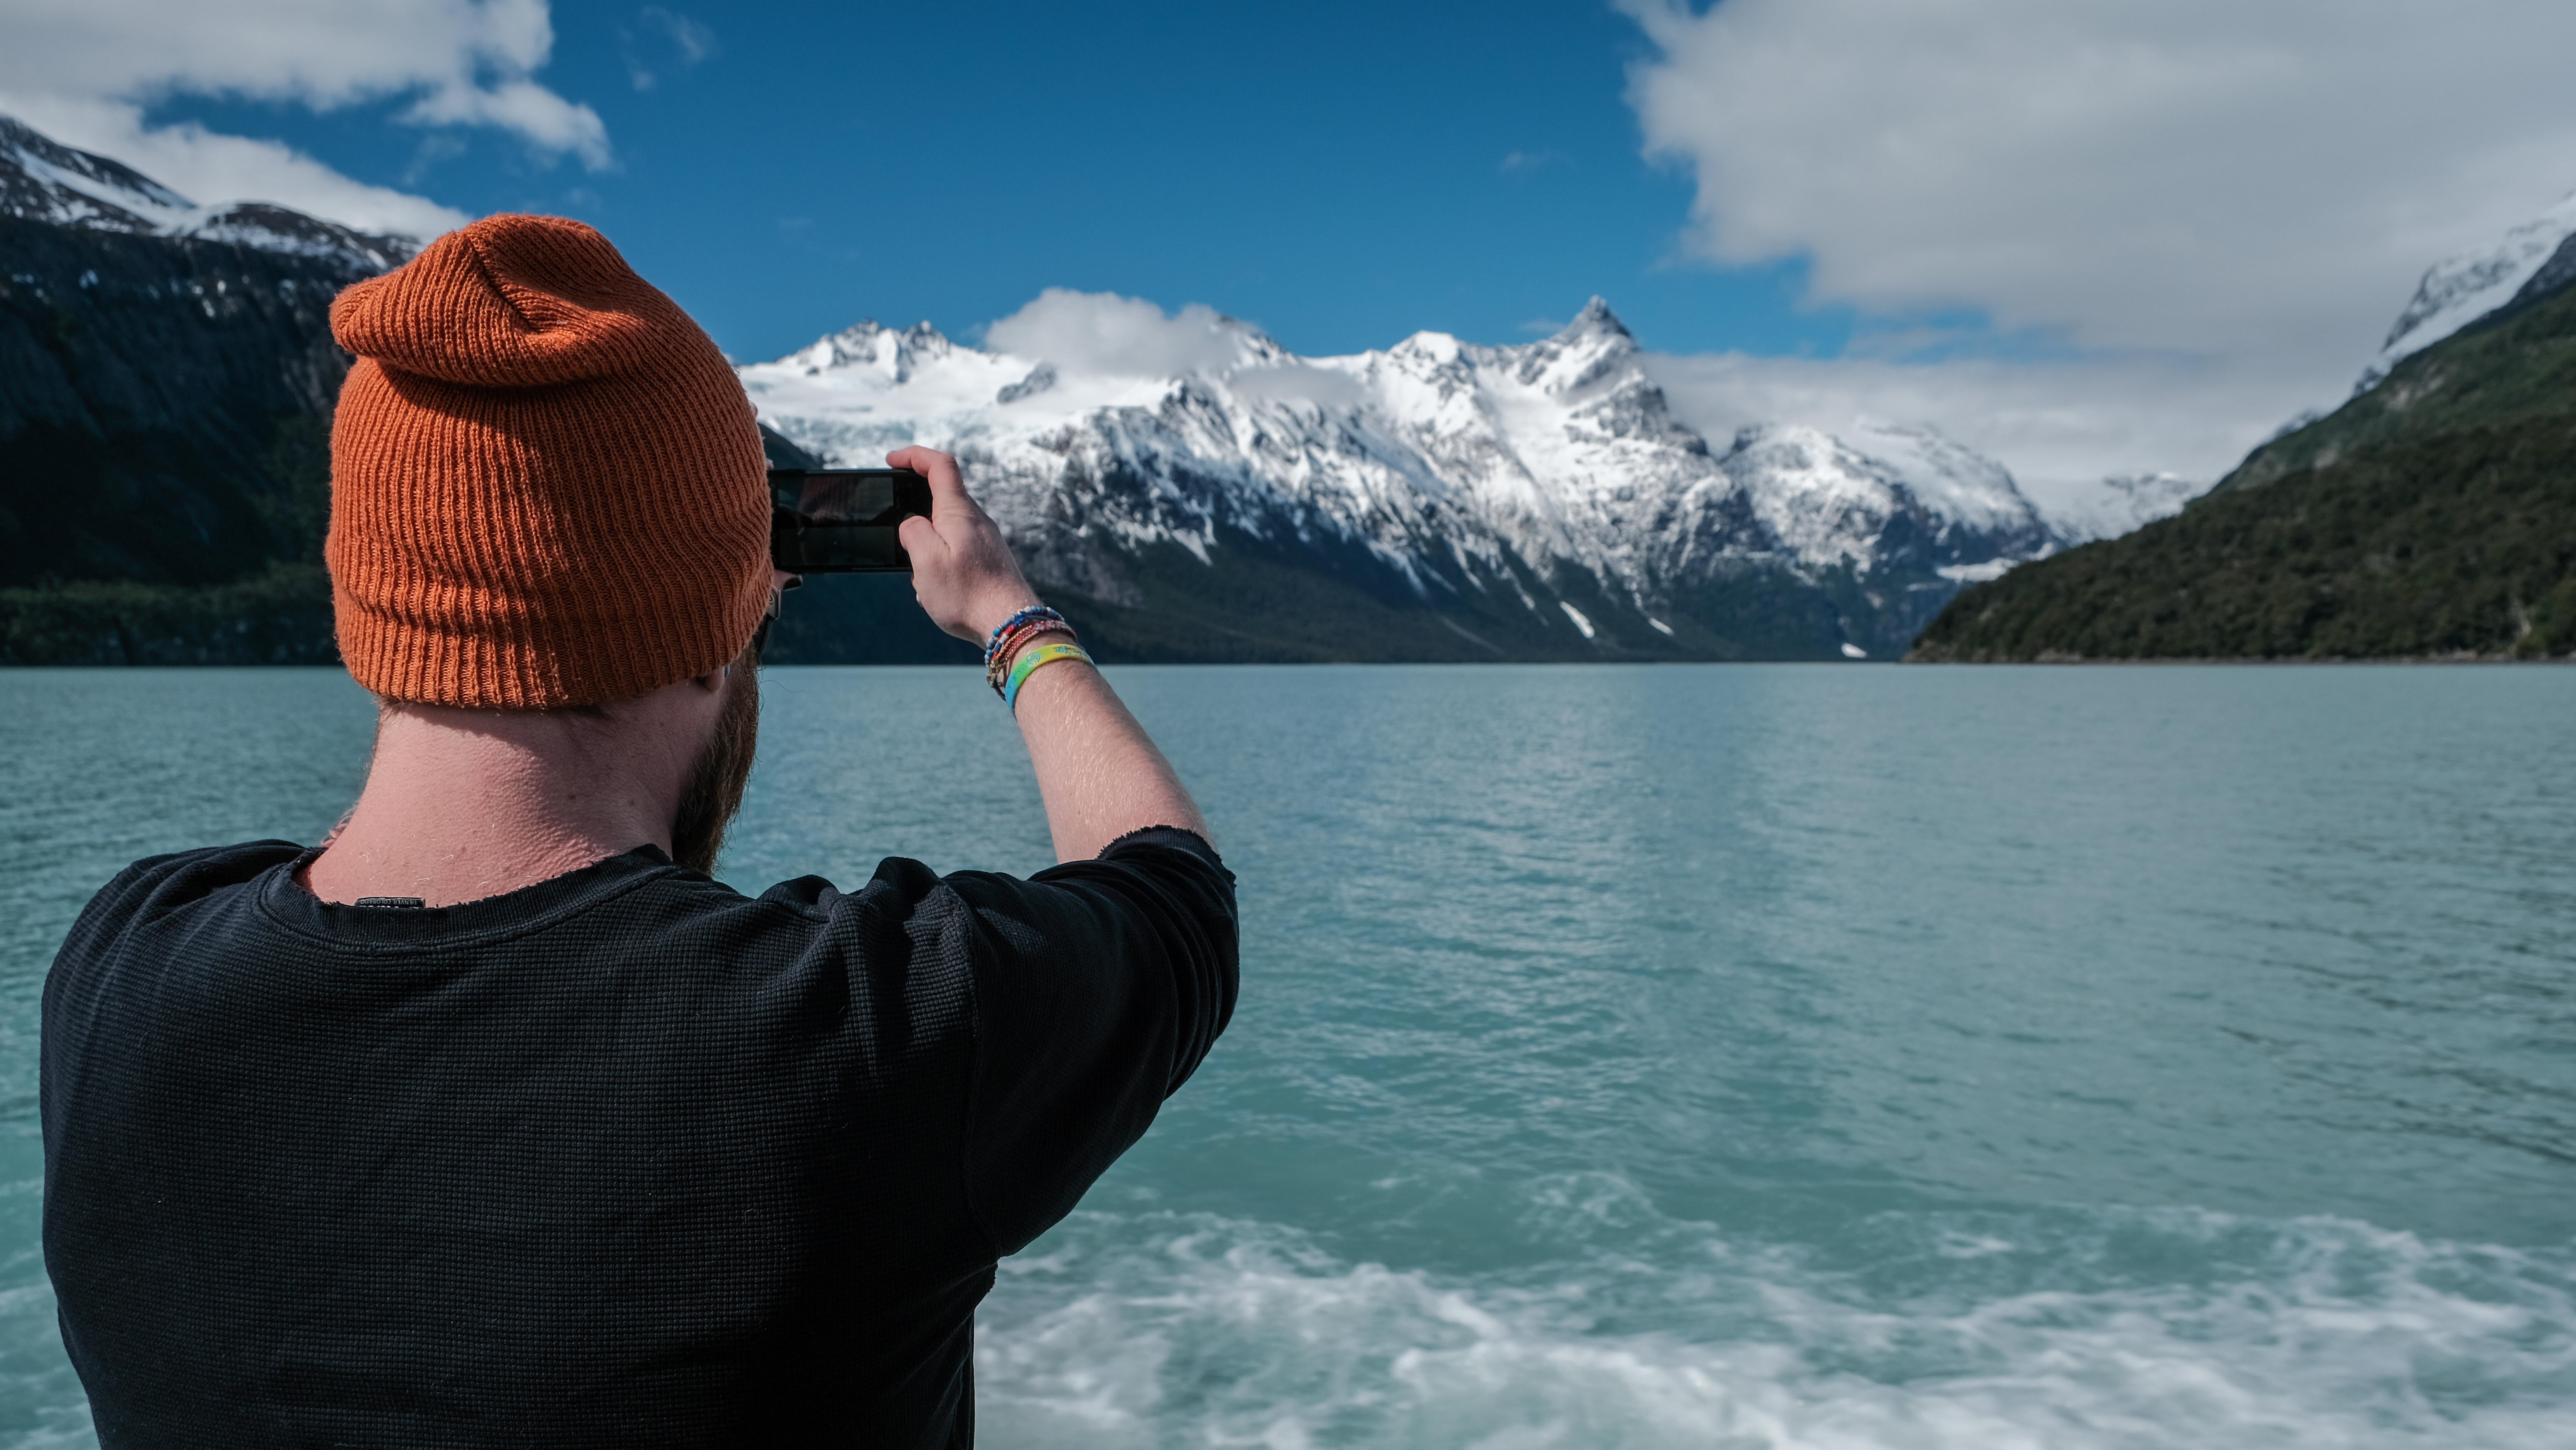
If you head into the Settings app, then scroll down to “Camera” and tap on it, you’ll see a bunch of options, and one of them, under “Composition,” is called “Grid.” Toggle it on, and the app’s viewfinder will have a grid of lines to help you visualize the frame you’re capturing. This is great for creating more interesting shots and making sure things are framed correctly, and when you combine it with the “Level” tool to straighten out your horizons, you’ve got a really easy tool to help you fill your photos more creatively.
2. Choose your flash options
Flash can make or break the quality of a photo: The LED flash on most newer iPhones is plenty powerful, but sometimes it kicks in when you least want it to. Too many people post nighttime photos that would be better without the flash highlighting the dust in the air around them, or post dark photos that would have been better if they had been a little brighter.
To control this a little more deliberately, while the camera app is open, simply tap the little lightning bolt icon at the top left of the screen (in portrait mode) to toggle the flash on and off. For even more control, tap the little arrow near the selfie camera on the screen. This brings up controls at the bottom of the viewfinder, including a flash option that lets you toggle between “Auto Flash,” “On,” and “Off.”
3. Use additional settings
That quick menu is another huge tool: Tapping the arrow next to the selfie camera (or the “Dynamic Island” on newer iPhones) will bring up a series of controls. These include the option to choose between filters, change the exposure level manually, turn Live Photos on or off, and more.
Best of all, it's context-sensitive: the menu changes depending on which mode you're using. So if you're taking a photo in “Portrait Mode,” it'll let you change the focal length, for example (though not all camera modes have additional controls). Experiment with these controls and settings, and you'll soon find some that come in handy when you're taking a more composed photo.
4. Choose your file types
If you're trying to get more into photo or video editing, you'll quickly realize that there are a lot of variables when it comes to file type, file size, and resolution. Fortunately, you can control many of these options in the Settings app under the “Camera” section.
First, you can choose the resolution and frame rate for each type of video. Higher resolution options take up more storage space when you use them. If you tap the “Formats” option, you can choose between Apple's HEIF/HEVC format for photos and videos or the more commonly used JPEG/H.264 formats, which you may find easier to share and edit in third-party software.
True enthusiasts can experiment with ProRAW files on compatible iPhones (if they have the option in Settings, they have a phone that can handle it). This gives them the most editing options possible, but it also takes up the most storage space.
5. Save your settings
In the all-important camera section of the Settings app, there’s another underused menu that people should know about: “Preserve Settings.” Tap it and you’ll see a cool set of options to make your camera remember what you were doing last time. So instead of reverting to the default photography mode the next time you open it, your camera can open in the same mode you were using, even preserving the same exposure settings, depth controls, and more — great if you carry your phone in your pocket and take it out on a trip, for example, and don’t want to have to reset everything every time.

